MAKE A CANDLE POWERED LAVA LAMP.
This project is to covert a standard generic lava lamp into a candle powered one. It could also be called make a candle powered glitter lamp, because it works even better with the glitter vials, since they tend to move with very little heat and have virtually no warm-up time.
There's nothing new about a candle powered lava lamp. The first ones were made in the 60's, and you can currently buy a unit called Fireflow from Mathmos or a rather stylish version by Auras glow. That said, it's so easy to make your own from an existing cheap lava lamp that it's worth doing just for fun.
This project has the potential for electrocution, burns, deep lacerations, exploding vials of goop and whole house combustion. You tackle this project entirely at your own risk.
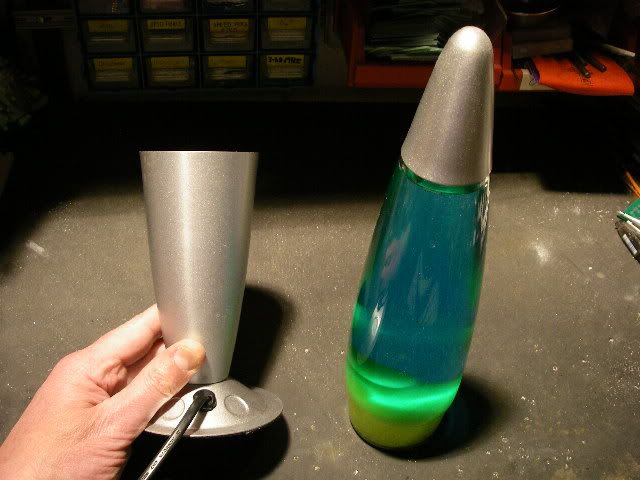
Here's the lava lamp I used. It's a very common cheap Chinese one that I have several different vials of lava and glitter for.

First thing we do is open the base to gain access to remove the existing lamp holder. In this case the base was little more than a self adhesive felt pad.

Cut the flex off and make sure the plug and open-ended flex is made safe by removing the fuse from the plug or cutting it completely off. This is to avoid the risk of shock if a kid plays with the discarded flex and plugs it in.
Now undo the nut that holds the lamp holder in the case. You may need to grip the lamp holder to stop it rotating.

In this lamp the lamp holder has a threaded stud glued in. You can either cut it down in size (to make way for the candle) or use snips/side-cutters to cut away the excess plastic.

I chose to trim the plastic away to reveal the bare stud.

I found the best way to remove the tight cord grip was to chop it out with my snips.

Here's the master plan. We'll cut a flap in the existing base and fold it down to allow a tea light candle to be placed into the base. The flap will be folded down slightly towards the back so that the candle can't slide out. Some ventillation holes are required just under where the glass vial will sit to allow air to flow through, otherwise the candle will not burn properly.
Decide where you want the candle flap and mark it on the base. Make sure the flap is big enough to fold in right over to the other side of the lamp to sit the candle on. A generous hole also makes it easier to get the candle in and out.
Try to keep the position of the candle as low as possible to keep the flame away from direct contact with the base of the glass vial.
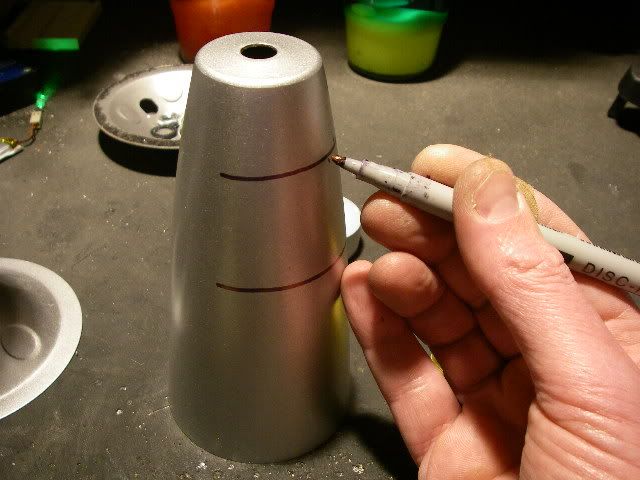
I marked the base about 30mm (just over an inch) from the bottom and made the flap about 40mm (1.5") high. It's easiest to make a dot and then place the base on a table and turn it while you hold the pen still at the required height to make the mark.

Now mark the width of the flap by holding a candle next to it to guage the required width.

Then cut the top and sides of the flap with a Dremmel, making sure you leave the bottom intact, since that's where the flap is going to fold in.

Now fold the flap in carefully, making sure you end up with a slight tilt to the back of the base so that the candle tends to slide to the back of it. This is purely to avoid the risk of the candle sliding out the front of the unit while lit.

File all the exposed edges to make them smooth and avoid the risk of a scratch or cut. I also cleaned off all my marker pen marks using methylated spirits, rubbing alcohol (isopropanol) would probably clean the marks off too.

Now check how far the glass vial will sit into the base and mark a line just below where it will sit. this is for the ventillation holes. By marking opposite sides and at right angles it's fairly easy to evenly space eight holes round the base.

Drill the holes carefully using a 6mm (quarter inch) drill. The curved surface can make the drill slide about, so go carefully to avoid leaving big skidmarks on the base or drilling yourself!

Clean up the holes with a file.

Then light a tea light and pop it in.
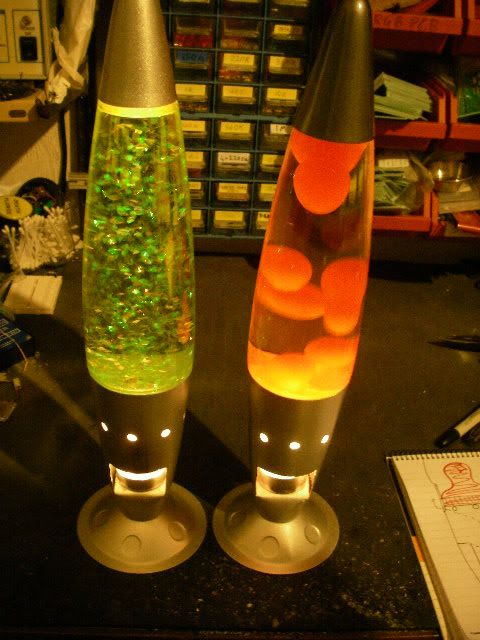
And there you go. A lava lamp and glitter lamp both running from candles. The candle powered glitter lamp is particularly nice if used outdoors in the sunlight.
Note that tea light candles vary considerably in the size of flame they burn with, so it's worth getting a few diferent types and trying them out. ANY candle will make the glitter lamp work fine, but a decent flame is required to make the lava lamp work well. Likewise there is potentially a risk that with too big a flame a vial could overheat and break. This is unlikely, and all candles I've tried so far didn't make the vial any hotter than when the original lamp was used under it.
As with all lava lamps you have to be patient for the lamp to come up to its normal operating tenperature. This can be an hour or more. On the other hand, the glitter style lamp will start working within a minute or two of the candle being lit. This also means that the glitter lamp can use even the meakest tea light, with the added advantage of a longer run time per candle.