MAKE A USB TOITLE.
This is the tasteful version of the previous USB project. Although this particular project uses a plastic turtle as the target of the modification, anything can be used as long as it can transmit the light from the LED.
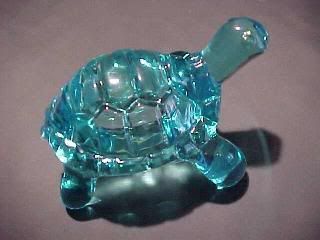
Here's the toitle. It came from a shop called Au Naturale on Argyle Street in Glasgow.
They sell all manner of hackable ornamentation. This item is actually a hand held massager, It's feet are rounded so that you can rub it all over someones back.
Technically speaking it's now an illuminated USB back massager.
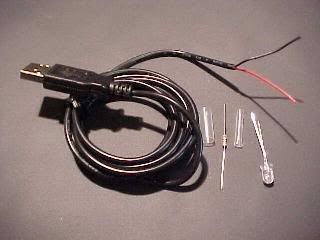
Here are the other components. A USB phone recharging lead, an LED, a resistor and some heatshrink sleeving.
You don't absolutely need the heatshrink sleeving, but it makes the mod more professional.
The plug has been cut off the phone end of the USB lead and the wires have been exposed.
The colour of the LED should be chosen to match the colour of the transparent ornament as closely as possible. LEDs usually emit a single narrow wavelength (colour) and it's easy to make the LED look dark be resining it into a differently coloured object. On the other hand, use of a slightly different colour if the tint is very light can also be interesting.
The near-UV LEDs are very psychedelic, but they are quite dim compared to the more popular colours, due to their being at the extreme end of the visible spectrum.
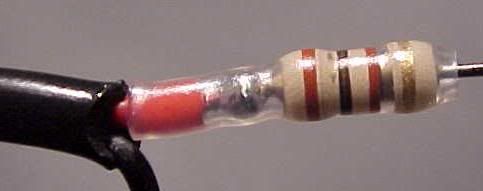
The red (positive) lead is cut back to about 5mm (1/4"), stripped and a suitable resistors soldered on.
The resistors value is chosen according to the voltage of the LED. If it's a blue, white or Gallium Nitride green LED then you require a 100 ohm resistor. (5V - 3V = 2V / 0.02 (20mA) = 100 ohms)
For a red, orange, yellow or Gallium Arsenide green, you require a 150 ohm resistor. (5V - 2V = 3V / 0.02 (20mA) = 150 ohms)
A bit of heatshrink sleeving is put over the resistor if desired.
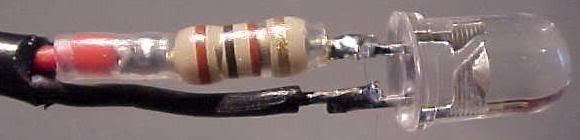
The other end of the resistor is soldered to the positive (long) lead of the LED, and the black (negative) core of the USB lead is then cropped to an appropriate length, stripped and soldered to the other leg of the LED.
Take care not to damage the LED by overheating it while soldering.
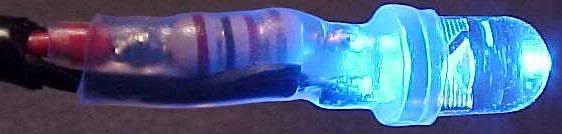
If required, a bit of heatshrink sleeving can be used on the whole assembly. This will protect against shorting the USB port during experiments with the bare LED.
This is also a good time to test the LED assembly in a handy USB port.
If there's a muffled bang and the house lights dip momentarily, then you may need to call a computer service engineer.
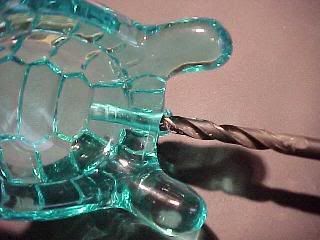
The chosen plastic object is drilled with a hole that is wide enough and deep enough to take the full LED assembly and allow the lead to be anchored into the resin.
It's a good idea to try pointing the LED into the object at various points to see which offers the best light path.

5-minute two part resin is mixed and carefully dripped into the hole allowing room for displacement when the LED assembly is pushed in.

The LED assembly is pushed in displacing the resin around itself. More resin is then added to bring the level up around the cable itself.
You may require to hold the assembly together until the resin cures. This could be anything from five minutes and upwards. Be patient as the resin can still flow slowly even after it's started to set.
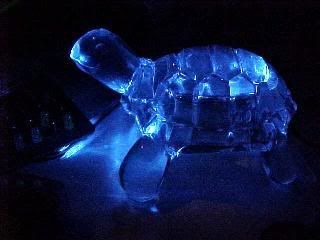
Once the resin has set you can plug the turtle (or whatever) into your USB port and admire your creation. Because it's powered from the USB port, the ornament will turn on automatically when you use the computer.